Prescribers can use the SureScripts Drug History link to review a patients prescription history information returned from the Pharmacy Benefit Manager (PBM), and add these prescriptions to a patient’s active medication list.
Not all patients will have a match for Surescripts Drug History. This is usually due to a discrepancy between the information sent to be verified and what the PBM holds for the patient.
Medications imported from Surescripts drug history display with a  on the Medications lists.
- How SureScripts Drug History works
- SureScripts Drug History is Greyed out
- SureScripts Drug History Settings
- Review and Import SureScripts Drug History
How SureScripts Drug History works
In order for Surescripts to return prescription history information, the following criteria must match:
- First Name and Last Name
- Date of Birth
- Gender
- State and Zip Code
Surescripts Drug History receives information from both the patient’s insurance PBM and the retail pharmacies participating on the Surescripts network
NOTE: If patient’s demographic information does not match to the PBM or Phamracy’s patient information on file, Surescripts will not be able to pull the patient’s filled prescriptions and SureScripts Drug History will be greyed out.
SureScripts Drug History is Greyed out
When the Surescripts Drug History is greyed out, this could mean a couple of different things:
1. There is a discrepancy between the patient’s information sent and the PBM and or pharmacy’s information for the patient.
2. SureScripts Drug History settings are set for Cash Only/No Coverage Checks
SureScripts Drug History Settings
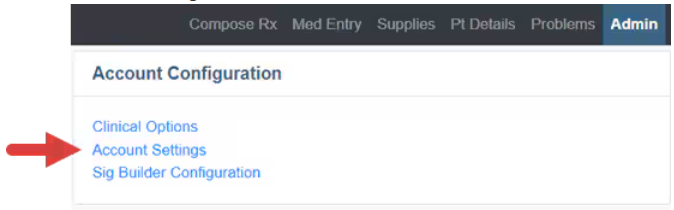
SureScripts Drug History is greyed out, check the Account Settings under Account Configuration found on the Admin Tab.
1. Form the Admin tab, click on Account Settings.
2. Uncheck the Cash Only/No Coverage Checks box.
3. Click the Save button.

Review and Import SureScripts Drug History
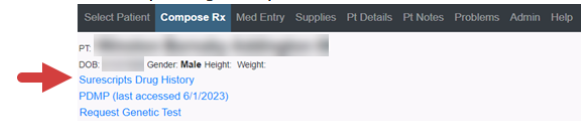
1. Click the Surescripts Drug History link under the Patient Name.
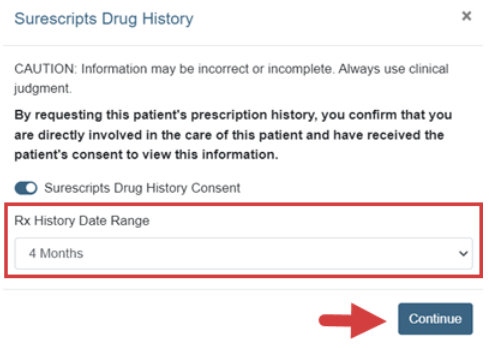
2. Select the Rx History Date Range on the Surescripts Drug History Consent window.
3. Click the Continue button.
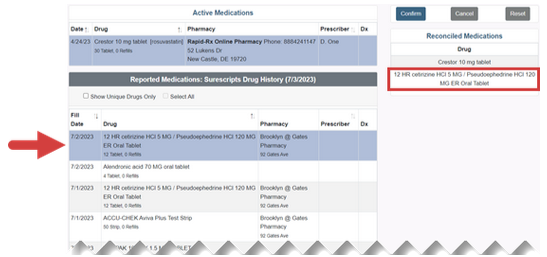
4. Surescripts Drug History will be displayed in the Reported Medications: Surescripts Drug History table underneath the Active Medications table.
NOTE: Surescripts Drug History automatically duplicates records when identical fills are reported.
5. You have the option to add medications individually or show unique fills only and select all
- Add Prescriptions Individually: Click on each prescription or medication.
- Once clicked, it will be highlighted in blue.
- Then populate under the Reconciled Medications field on the right.
- Add All Unique Prescriptions: Click on “Show Unique Drugs Only” and “Select All”.
- Show Unique Drugs Only eliminates the multiple fills of the same prescription.
- Select All is clickable after Show Unique Drugs Only is checked.
- Medications will be highlighted in blue once selected
- Then populate under the Reconciled Medications field on the right.
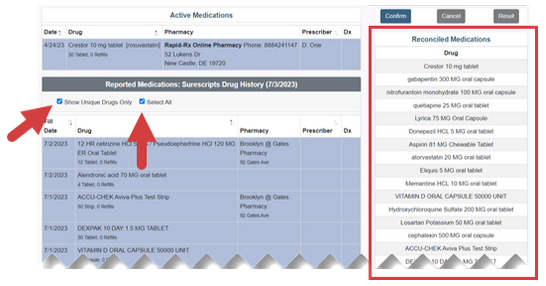
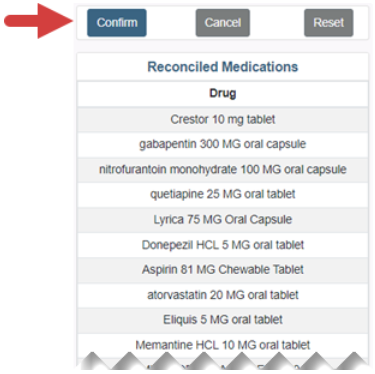
6. Click the Confirm button on the Reconciled Medications list to add the selected prescriptions to the patient’s Active Medications list.